
Flask is a Python web application framework used to create websites and APIs. It’s a microframework, which, as the name suggests, means it is small. Flask comes with a minimal amount of features and, therefore, a minimal amount of code.
Before installing Flask, you must first install a new virtual environment. After, you can run this command in the terminal
pip install flaskThis guide shows you how to first install, then run, an example Flask app in VS Code.
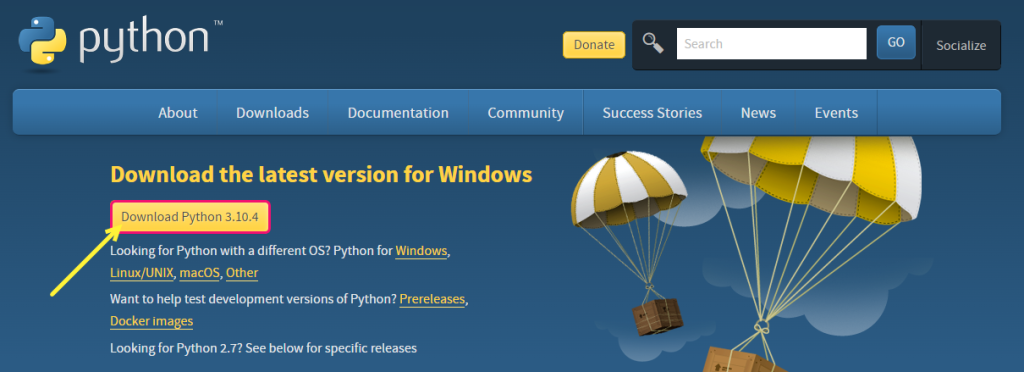
Step 1: Install Python
If you don’t already have it, download and install Python from python.org/downloads with default settings.
Step 2: Open a new project folder
In VS Code, click on Open Folder in the “Explorer” tab. Then, open an existing, or create a new folder. In my case, I’m creating a folder named “Test” which will be stored on my Desktop.

Step 3: Install a new virtual environment
Before installing Flask, we first have to install a virtual environment. This is to avoid conflicts with current libraries. Do the following:
- From the top-level “View” menu, click on Terminal. Alternatively, you can press Ctrl + ‘.

From the View menu, select Terminal. - Inside the terminal, run the following command to create a new virtual environment:
py -3 -m venv venv(for Windows)python3 -m venv venv(for macOS/Linux)You’ll notice a folder named “venv” appears inside the Explorers pane.

Run the commands to create a virtual environment. - Next, we have to activate the environment. Run the following commands:
venvScriptsactivate(for Windows). venv/bin/activate(for macOS/Linux)
Run the commands to activate the virtual environment.
Step 4: Install Flask
To install Flask, run the following command in the terminal:
pip install flaskYou’ll notice Flask installation in the background with all the packages.

Step 5: Create a web page with Flask
For our example, we will create a flashcard that prints Hello World. Follow the below steps:
- Click on New File next to the project folder heading.

Click on New File. - Name your file, then add .py as an extension. I’m going to call it “app.py”

Enter a filename with .py as an extension. - Next, type the following code to print Hello World:
from flask import Flask
app = Flask(name)
@app.route('/')
def welcome():
return 'Hello World!'
Enter the given code inside the python file. - Save the file by pressing Ctrl + S.
Step 6: Run the Flast application
Follow the below steps to run the project:
- Type and run the following code in the terminal:
flask run
Run flask run in the terminal. - Left-click on the address shown in the terminal.

Left-click on the address shown in the terminal.
It will launch the web application. There you have it, our first web page with Flask!
